Thursday 26 November 2009

New plants from old

Just take a look at this sad-looking specimen.

IMG_3869

It, along with a dozen or so similar plants, was ‘rescued’ from a rather neglected one-time ‘display’.  What, we wondered, had gone wrong.  The crisp brown flowers and the withered buds, not to mention the dusty soil that was as-dry-as-the-proverbial-bone pointed towards them not having been watered for a very long time.

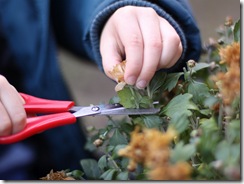
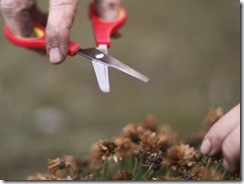
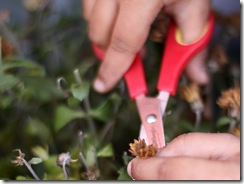
But never mind.  Class 2i to the rescue!  Our job?  To give the plants a ‘hair-cut’, snipping off the crispy flowers and those withered buds…..

IMG_3870

(just the crispy flowers and those withered buds mind)…..

IMG_3874

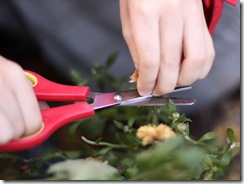
being careful to keep our fingers…..

IMG_3883

safely tucked out of the way.

IMG_3875

You see, we needed to stop the poor plants from wasting precious energy trying to keep themselves covered in blooms, when actually they ought to be conserving their strength for the cold weather that is on its way (and incidentally, as I type this I am looking out at freshly snow-dusted pine trees).

IMG_3885

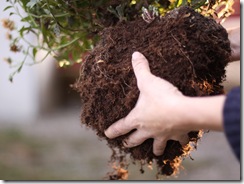
The newly-trimmed plants were then tucked into some of our friable well-dug soil…..

IMG_3889

and most-importantly, watered in.  There to over-winter.  And recuperate.

But, that was not all.  There were also trimmings from the rosemary bushes.  Far too much for Sunday’s roast lamb!  No, we were going to have a go at making (more) new plants from old.

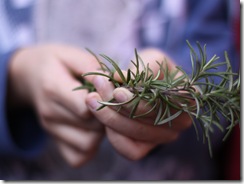
First, grip a sprig of rosemary firmly in your hands.

IMG_3876

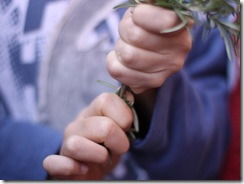
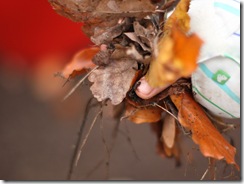
Using your thumb, scrape off the leaves on the lower part of the stem.

IMG_3877

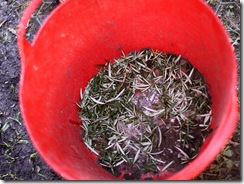
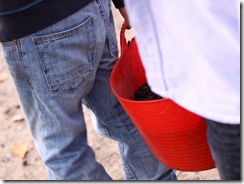
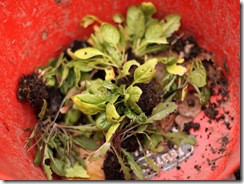
Toss these into the bucket…..

IMG_3887

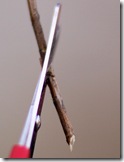
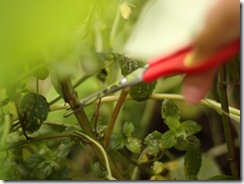
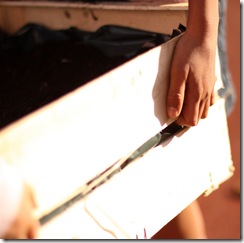
later to be dumped onto the compost heap.  Next, snip the stem with a diagonal cut.

IMG_3873

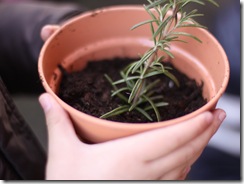
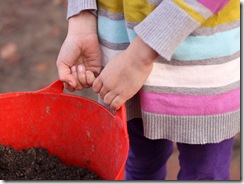
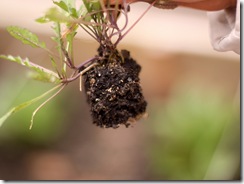
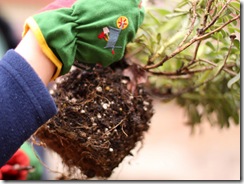
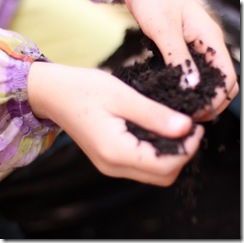
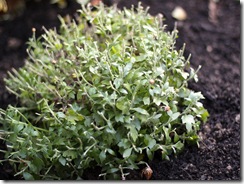
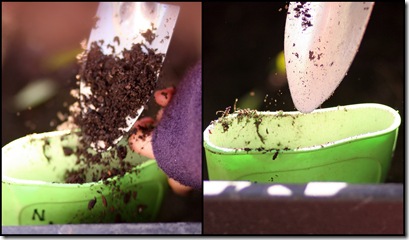
Finally, poke it into a pot of our famous soil…..

IMG_3882

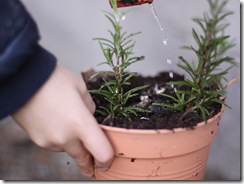
trickle on a dribble or two of water…..

IMG_3886

and fingers crossed until spring!
Thursday 19 November 2009

Dig It!
We couldn’t help noticing during last week’s garlic-planting session, that in spite of our best efforts, the raised beds were looking a little squished.  In need of a bit more soil.

Thursday therefore, saw us stomping en ligne to a newly-acquired heap of healthy soil that had been dumped in an area under the trees.  Our job; to fill buckets with spades full of crumbly soil which would be lugged over and emptied on top of the needy beds.

First we would need to learn the correct back-saving way of using a ‘proper’ spade.

IMG_3620

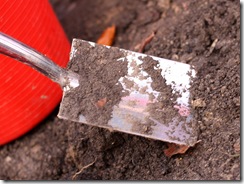
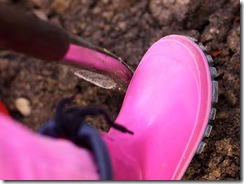
Grip the handle and then carefully place one booted foot on top of the blade.

IMG_3622

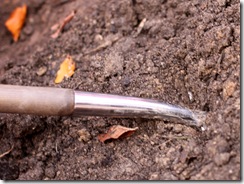
Push gently so that the blade slides down into the soil. 

IMG_3621

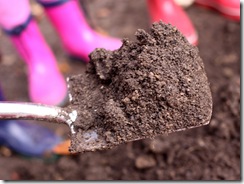
Wiggle the spade backwards and forwards to loosen the soil, and then, gripping the handle with two hands (while making sure you don’t forget to bend at the knees) carefully lift the spade, complete with its load of soil…..

IMG_3625

and dump it into a bucket.  When a bucket is full, find a strong friend to help you carry it…..

IMG_3626 

across to the garden.

IMG_3627

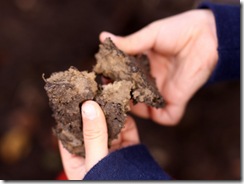
Keep your eyes open while digging – we don’t want too much grey sticky clay to end up in our soil-mix!

IMG_3624

Thursday 5 November 2009

The outdoors equivalent of housework

Now that the weather has taken a turn for the colder – and wetter - nothing much is growing at this time of year – other than the odd plant that escaped the harvest.  Like these potatoes, for example.

IMG_3219

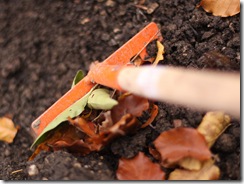
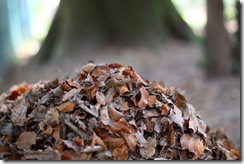
So November in the garden largely means the outdoors equivalent of housework.  There are leaves to be raked…..

IMG_3224

and gathered up.

IMG_3225

Herbs such as mint need to have their straggly stems cut back.

IMG_3228

There are weeds to be pulled up.

IMG_3220

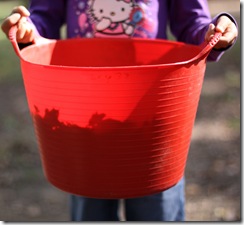
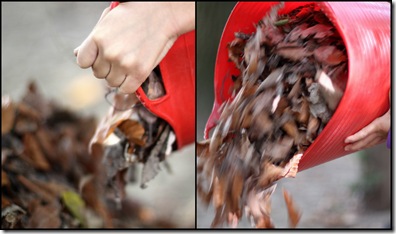
All of which can be tossed into buckets…..

IMG_3222

and dumped on the compost heap.  There may also be the odd plant that needs to be put back into the ground.  Oops!

IMG_3227 

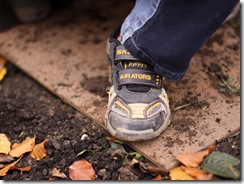
Soil that has been rained on (and goodness, how it has rained these past few days!) is likely to become compacted, or squashed, if it is trodden on too much.  Boards placed on top…..

IMG_3226

help to spread the load and stop that happening.

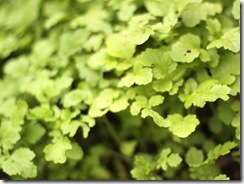
Something else that helps keep the soil aerated is this wonderful stuff.

IMG_3233

From seed to ground cover in two or three weeks.  It can either merely be pulled out and used on the compost heap…..

IMG_3236

or can be dug back into the soil so that it rots – and passes on all its goodness directly.

Either way, we are guaranteed crumbly weed-free, tidy soil.

IMG_3231

Thursday 29 October 2009

How the weather confuses us all…..

Bitingly cold wind a week or so ago was soon replaced by the most gloriously clear and sunny weather, giving warm and balmy days. Finally, the perfect autumn.

Unless you are a daffodil bulb that is.  You see, the cold snap tricked the bulbs into thinking it was already winter (actually, I have to admit to being tricked too!)  And then when (thankfully) it got all warm and lovely again, those poor confused daffs thought that winter (blessedly brief) was over and spring had come.

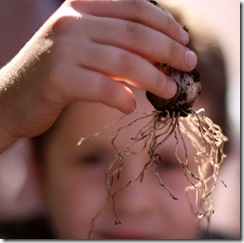
And we know what bulbs do in springtime, don’t we.  They send down wiggly roots…..

IMG_2904

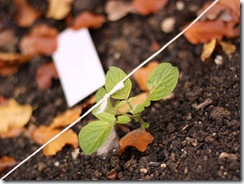
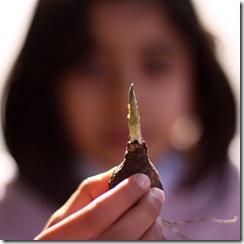
and push out new green shoots.  Like these.

IMG_2906

Well, that won’t do, will it?  What will those tender green shoots do when the real winter…..

IMG_0135

hits us?

So we carefully replanted them, using good healthy soil…..

IMG_2917

in sturdy orange boxes…..

IMG_2926

and secreted them away to a cool, dark, wintery place (the store room beneath the school) where hopefully they will stay safe until spring really comes.

IMG_5436

Thursday 15 October 2009

Bulbs and boots – and a surprise in store

Whatever do you do with Wellington boots once you have outgrown them?  Unless you have a younger sister or brother, that is.

We had earlier been given a rather puzzling note requesting that our worn-out and too-small ‘wellies’ and the like should be brought to school.  What for, we would find out in due course.

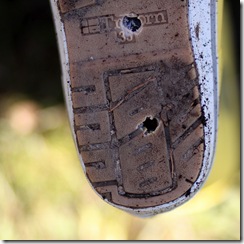
On Thursday, to be precise. When we went outside for our weekly session in the garden, we discovered a heap of apparently perfectly sound boots.  On closer inspection, however, they turned out to have had holes mysteriously drilled into the soles.

IMG_1853 

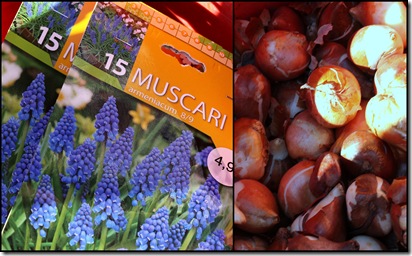
How very odd!  What’s more, there were also lots (and lots) of different spring bulbs in various packets and buckets.

october1

Curiouser and curiouser.

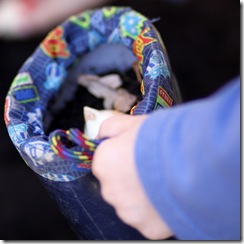
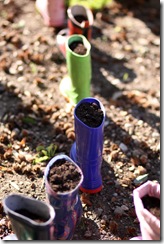
It turned out that we would be planting the bulbs in the boots!  All that was needed was a scoop or two of the perfect mix of soil…..

october

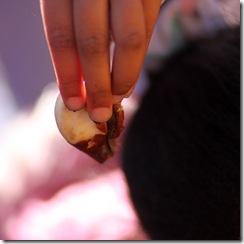
and a bulb - or two, or three (the correct way up!)…..

IMG_1857

tucked down inside.

IMG_1858

A further sprinkling of soil on the top…..

IMG_1859

patted firmly down.  Finally, carefully stand your bulb-stuffed ‘wellie’ in place on the garden…..

IMG_1854

where they will wait, lined up on their long walk towards spring…..

IMG_1862

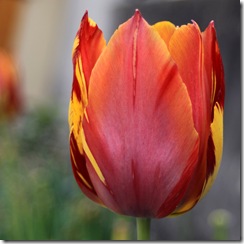
and hopefully the surprise of a beautiful show of spring colour.

And what about those holes drilled in the bottoms?  We know what they are for.  Do you?

Friday 2 October 2009

Composting

We gathered under the trees for this week’s session in the garden.  Found a bit of clean dirt on which to sit – and looked upwards.  Up towards the canopy of leaves.

IMG_1067

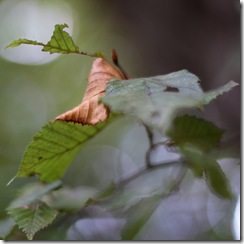
What did we notice about the leaves?  That leaves which had been green during the long summer months, were beginning to change colour.

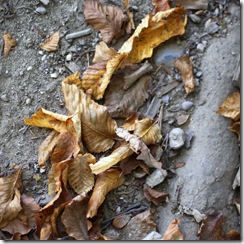
Looked down to where we were sitting.  What did we notice there?

IMG_1068

Brown, crisp, dry, curled leaves.  Dead leaves, as Can noted.

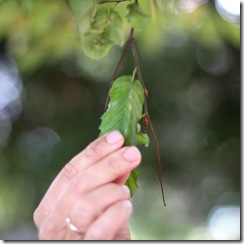
What, we wondered, made those leaves turn brown and fall from the tree?  Well, take a green leaf and tug at it.

IMG_1070

You can tug quite hard, but the tree doesn’t let it go.  But just watch for a moment; and you will see brown ones floating and twisting and curling down to the ground.

IMG_9164 

In the summer, the tree ‘sucks’ up moisture from the soil; it travels through the roots…..

IMG_1071

up the trunk…..

IMG_1064

and all the way along the branches to the leaves.  But as the weather gets colder, the tree needs to conserve its moisture so that it doesn’t die.  So it closes the little ‘trap-doors’ to the leaves, thus turning off the water supply and allowing them to shrivel up and fall off.

Now think back to what we learned last week about the ‘ingredients’ of soil.  Water, air, minerals and organic matter.  Organic matter, remember, is things that were once living.  Things like dead leaves…..

We want to use some of this organic matter to improve our soil.  We are going to have a go at composting.

Just like last week, we will work in ‘teams’…..

IMG_1097

with each team responsible for raking up…..

compost

and gathering the leaves…..

compost1

before putting them into buckets and carrying them…..

IMG_1078

over to our ever-growing pile…..

IMG_1083

and emptying them onto the top.

compost3 

Next stop, rich dark well-rotted compost?